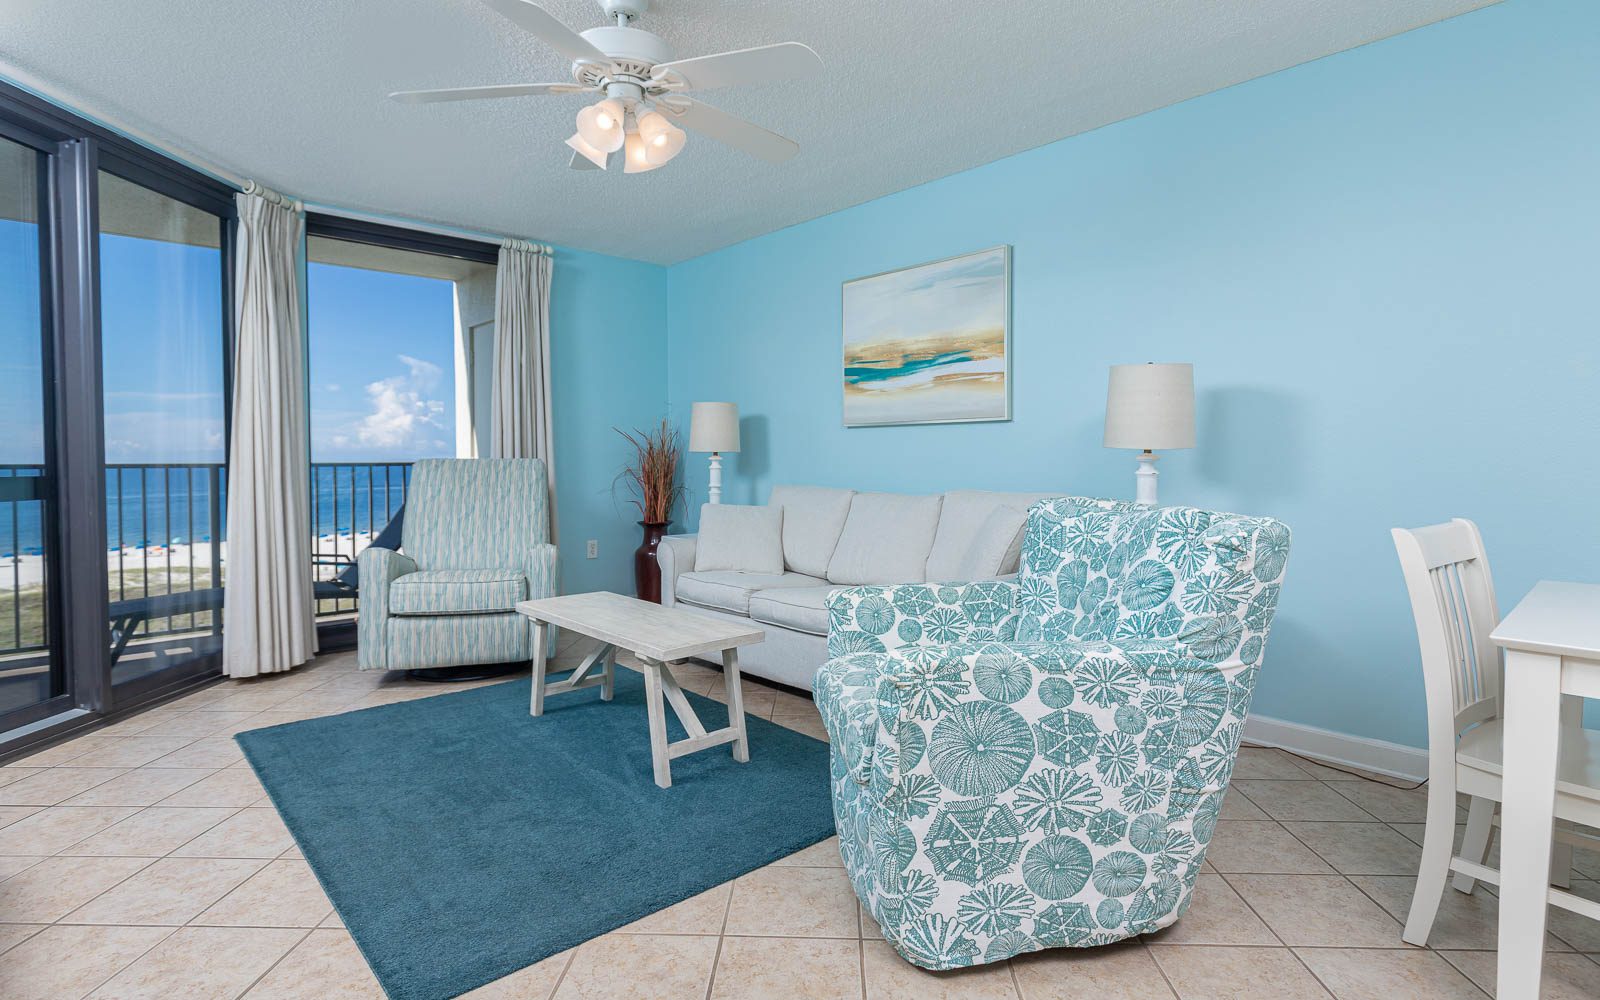
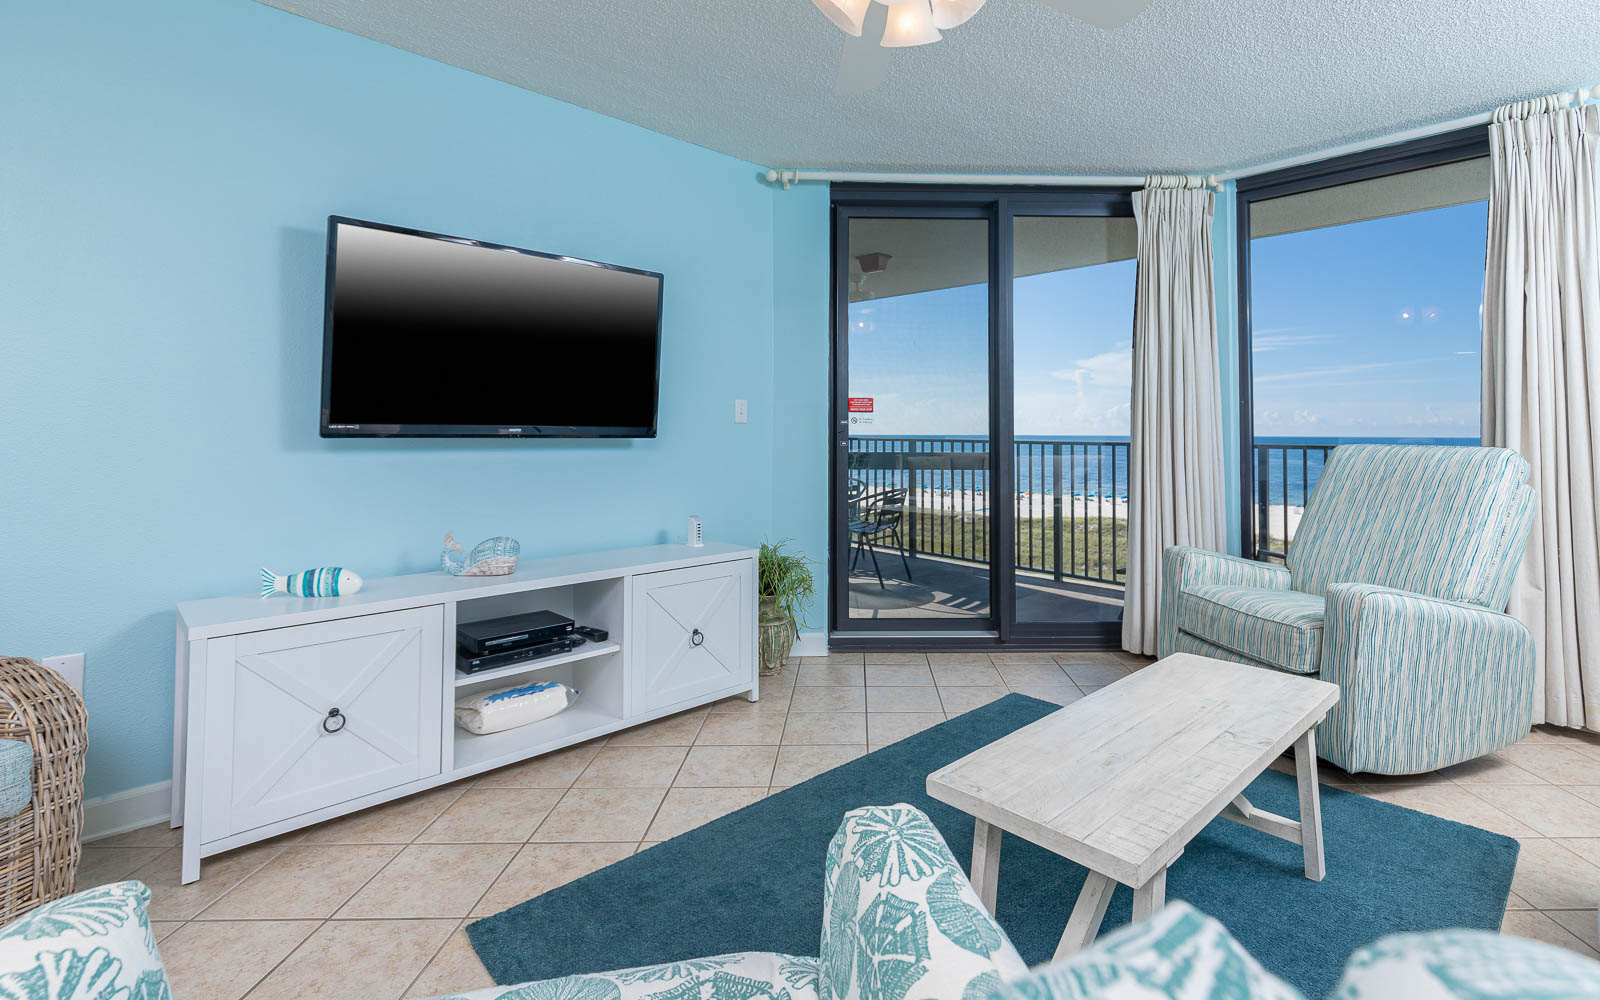
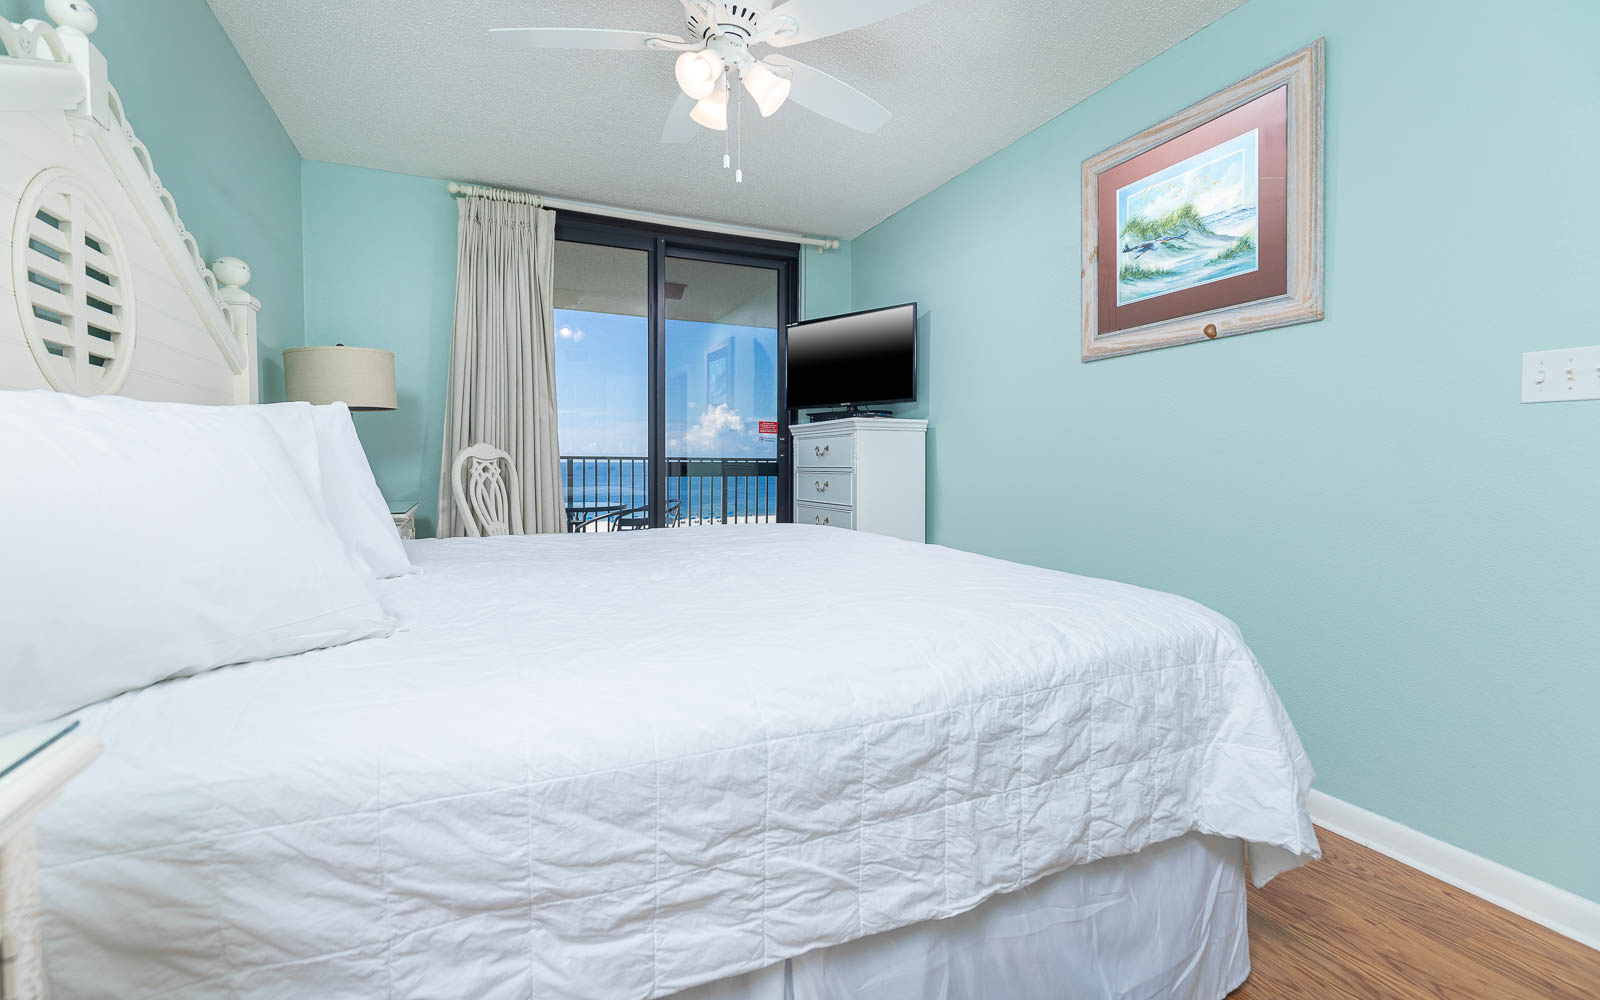
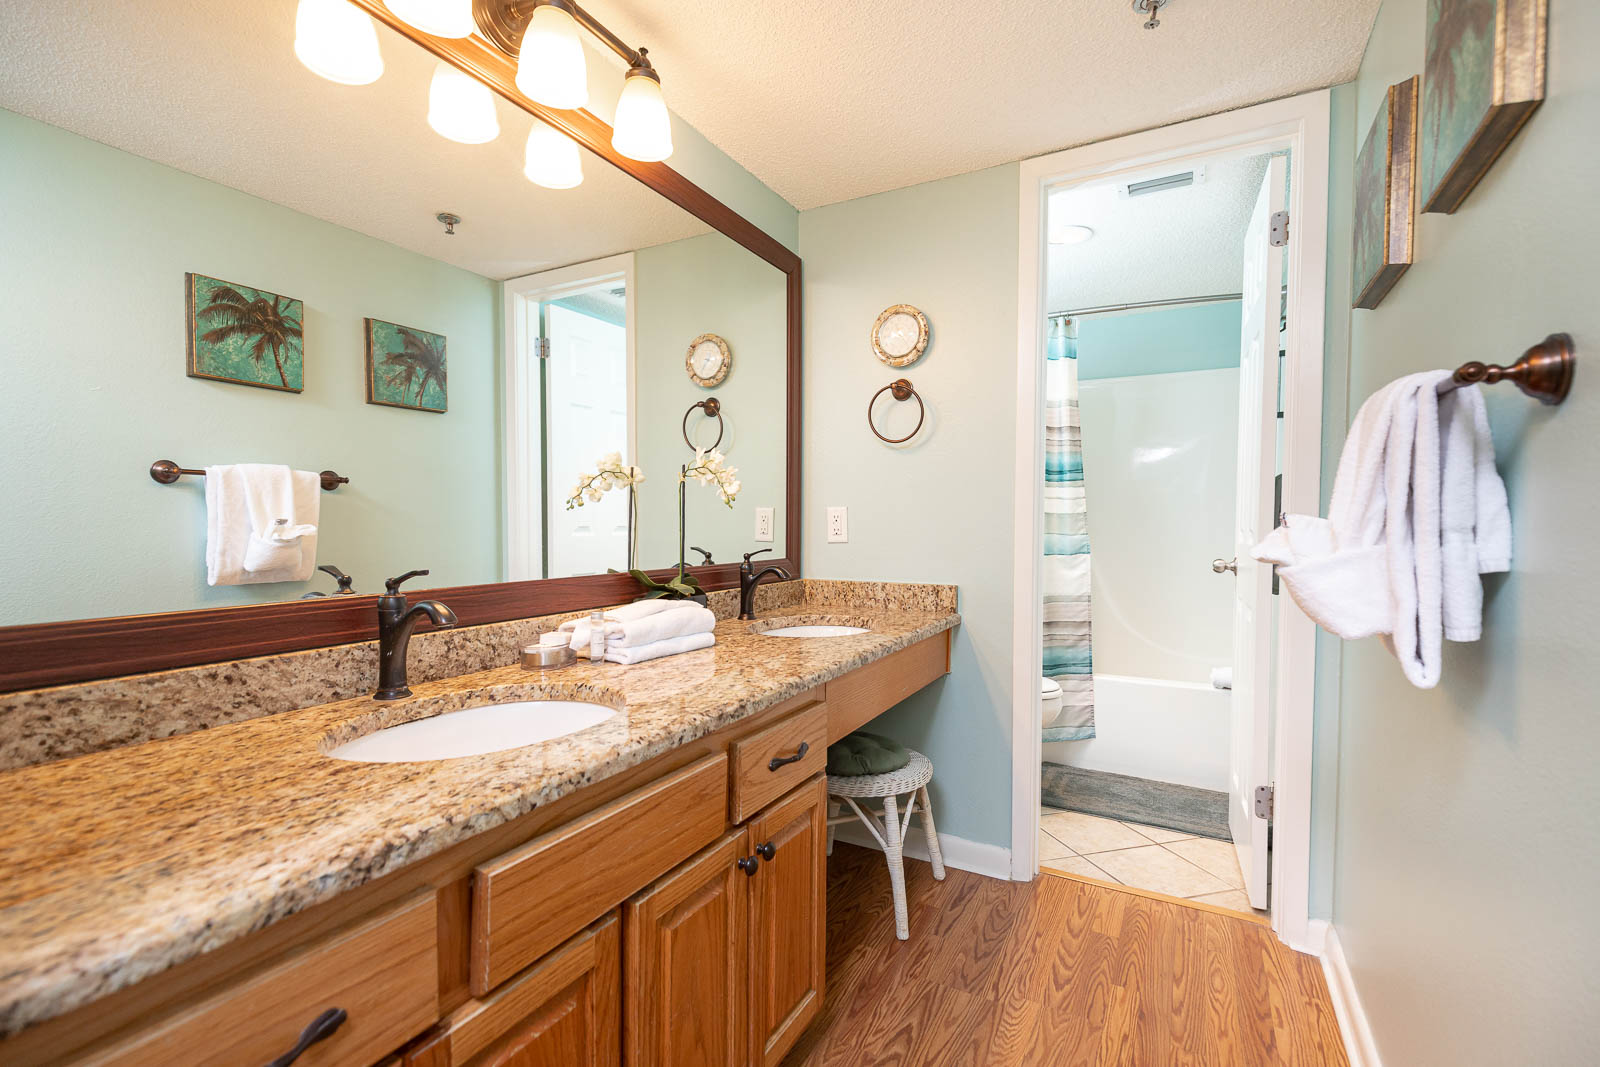
Phoenix 6/612 Image Gallery
Click on the images below:
×